About this time last year I embarked upon a journey of home remodelling that was, quite frankly, both spectacularly ill-timed, and very poorly planned. We are still dealing with the fallout.
To explain.
No, there is too much… To sum up.
I met some builders who were doing work on the house next door; I liked them and they received a good recommendation from my neighbour. I hired them for a roofing job and they showed up on time, did the job exactly as they said they would, and for the price we had agreed. So I hired them for a major interior remodel.
The builders had but a small window in their schedule, which coincided with the month before I was to leave on the final US tour of the year. Not good timing. By the third trans-Atlantic, trans-continental trip last year, I was pretty exhausted. I should have waited on the remodel until after I got home, but I wanted those builders. I should really have talked to more builders, maybe even have hired different builders, as it happens. But I did none of those things. And so, what was to have been a much anticipated and joyful task of transforming our home into something better, became a frickin’ nightmare. I did not blog the process because first I was busy, then sadness ensued, closely followed by a shame spiral. Suffice to say that, thirteen months after the project’s official end (ie: I paid the builders and they went away), work is still ongoing. We have a list of things left undone by our now ex-builder, and it is a long one.
There were big things on the list, like painting the hallway, which we hired in help for. There were a host of little things that we can do ourselves – like creating thresholds for the new teak floors, because the alternative is using “teak effect” thresholds that in no way resemble teak – and we are working our way through that list. Giving the bathroom its final coat of paint has been on the list for year, but it is no longer. We’ve had the paint for ages and, finally, last weekend we got out the brushes and made it happen.
I love before and after pictures. I hope you do too.
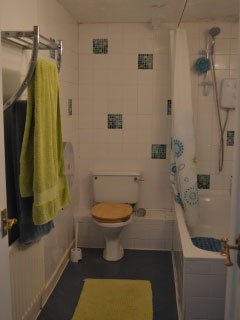
On the left, we have the bathroom before. I’d like to say we inherited that mess, but no, that’s a hot mess of our very own creation. When we moved in there was a shower where the toilet is, and the toilet was where the bath is. In the second year of living in our house we desperately wanted a bathtub, and we were also desperately house-poor. It was a Make It Work moment. The tub was purchased used, but it was from the 50’s, both long and deep, and we had the builder pack the cavity underneath with insulation. (Top tip: If you like looooong hot baths, do this. Our bath water stayed hot for hours in that funky, recycled, super insulated tub. Totally worth the extra money for a bit of insulation.) We chipped out some of the old white tiles, and we replaced them with glass tile mosaics. The result was a bit “municipal swimming pool”, but at least we now had a bath.
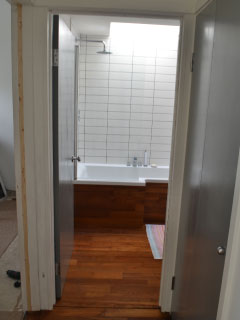
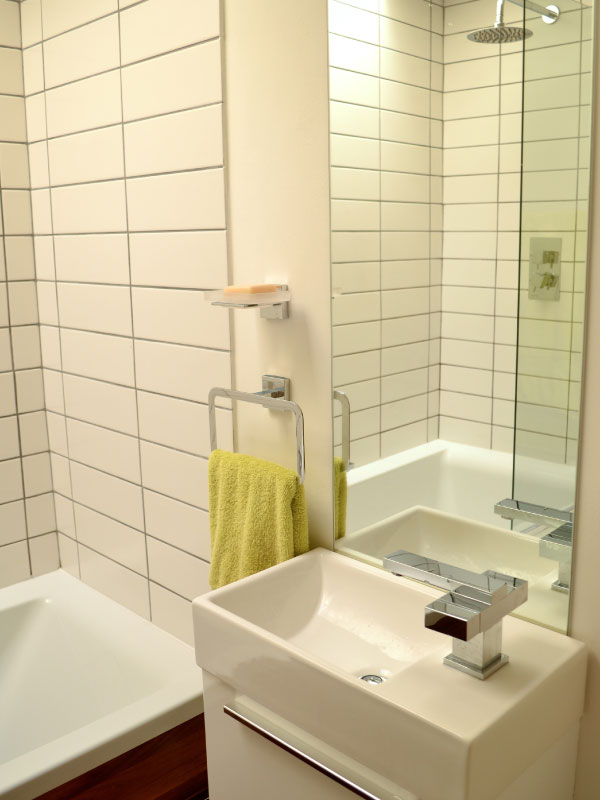
On the right, the bath as looks today. We gutted it, dropped in a skylight, and built the bath of our dreams in the space we had available. Even though the bathroom is half the size it was, the new skylight makes it feel so much bigger. The fixtures reflect both our mid-century modern aesthetic, and the house itself, which was built in 1972. One of my favourite things is standing under that amazing shower rose, and looking up at the sky through the skylight, which does double duty by making the bathroom sound amazing when it rains.
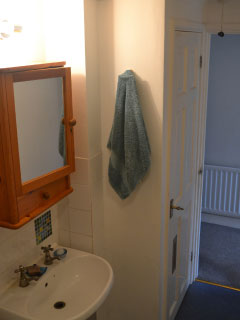
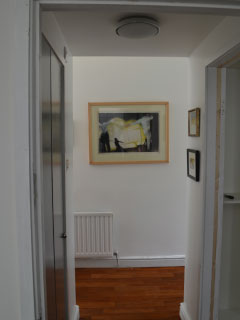
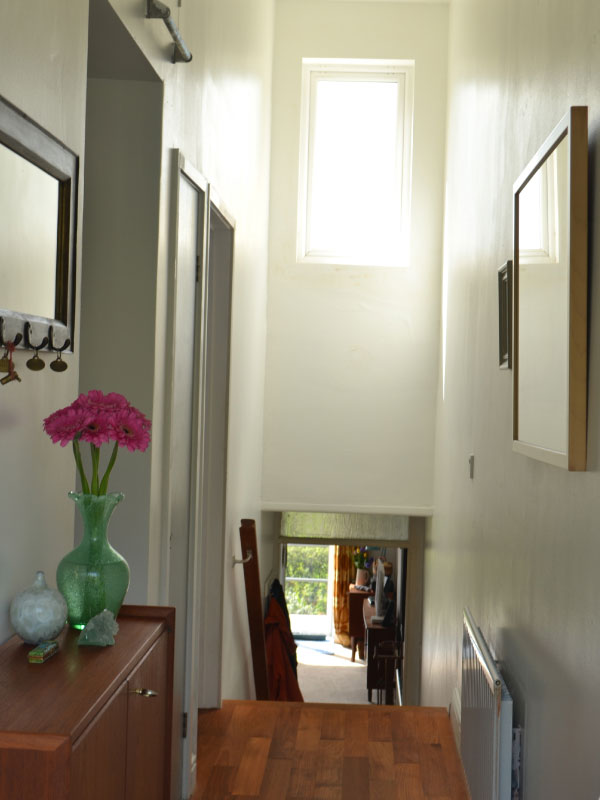
The image on the left was taken standing in front of the toilet, looking back towards the hall. The cupboard on the left contained the boiler, and a lot of wasted space. This is where we robbed space from the bathroom to create a small hall. In the shot on the right you can see the bathroom door is now just about where the sink was in the right hand image. What was the boiler cupboard became a laundry cupboard, complete with full sized washer and dryer, stacked. The boiler was moved into a small cupboard accessible from the main hall. The door to the front bedroom is in a new location, across from the laundry cupboard.
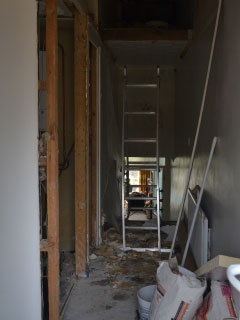
The worst of the in-process pics. Whenever I think that it’s time for the next remodel, I look at this image to remind myself that it’s still too soon. Though the image is dark, you can just make out the last piece of the false ceiling at the end of the hall. The original door to the front bedroom was on the left, where the mirror and hall cabinet are now. Talk about badly designed. You walked right into the front of the house, and the first thing you saw was a bedroom. A private space. The hall did receive some light from the bedrooms, but with the doors shut, you can see the hall in all its cave-like glory. Sadly, we can’t do much about this awkward layout beyond moving that bedroom door. It is what it is. Which his fine, as this is not our forever home.
On the right, the finished product. I can’t tell you how happy this image makes me. I hated this area of the house for YEARS. So much so that I rarely used the front door. And now I love it. The plan was to create a light and airy transitional space that we can use to showcase some of our smaller pieces of art. Those you really need to see up close to really appreciate. There are a few pieces that you can’t see in this shot, and loads more waiting to be hung. As soon as the office is done…
The hall was one of the easiest and least expensive transformations to accomplish. The house was originally built with vaulted ceilings, but somewhere in its history one of the previous owners decided to drop the ceiling and create an attic space. We just took the ceiling out, and added a window at the end of the hall. We were a little worried about the heating bills, so we had the builders pack the roof with insulation when they did the roof for us last autumn. Though we did have the heat on a lot this winter, the increase in our heating cost was negligible, because insulation is a wonderful and worthy thing. We had a horrible problem with damp in this hallway but now, with the extra light and the increased airflow, the damp issues have been entirely resolved. Result.
Was it worth it? Absolutely. Not only is the bathroom a place I now love to be, the project also allowed me to act as my own building contractor for the very first time in the UK. In a former life I designed kitchens and bathrooms for a living, as a Certified Kitchen and Bath Designer. This experience allowed me to walk into the local trade merchants, and talk them into letting me open a trade account. This allowed me to get a list off the builder of what was needed, and order supplies and materials in myself, at wholesale prices. I made a few mistakes, and spent more money on fixtures than was strictly necessary, but I learned. While this house is not our forever home, it is somewhere we’ll be living for the next several years. We’ll be around to enjoy those nice fixtures for a little while.
Meanwhile, the next item on our House list is dealing with the awkwardness created in my office/studio we moved that door. I had planned a lovely post about this project, but there hasn’t been much movement this week as we’ve been struggling to find an electrician. I met four this week, and hired one. I’ve since discovered that he’s not “quite certified”, so I need to fire him and hire someone else next week. I swear, as soon as there is something to see, I’ll show you. I really can’t wait for there to be something to see.
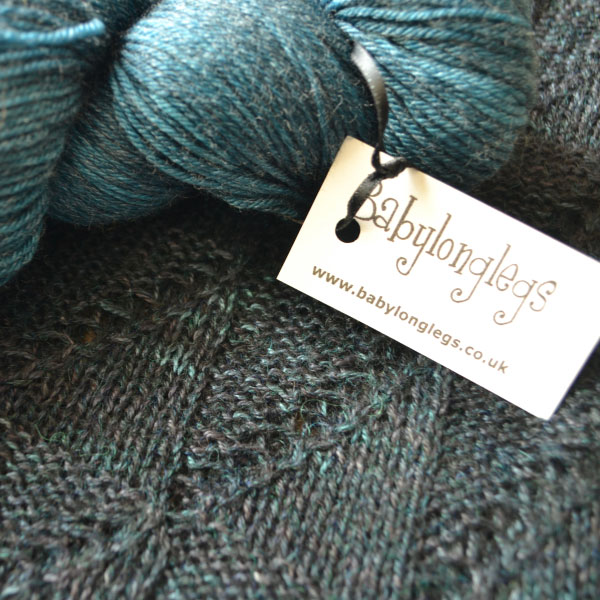
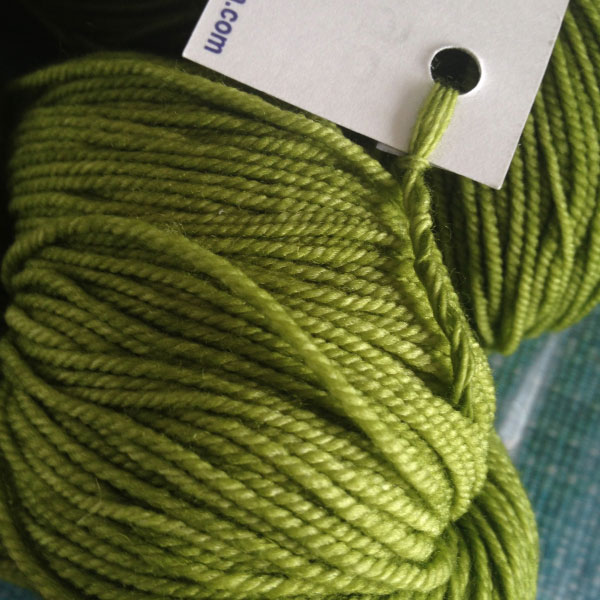
In other news, it’s Friday, which means that I have yarn to give away! Congratulations to Jody, this week’s winner of Babylonglegs yarn.
Up next week, we’re heading to Amroth Beach on the podcast, and our giveaway continues with a skein of Malabrigo, with which to knit my Amroth Beach socks.

Loving the new sink
Wow what a beautiful transformation, you should be very pleased it looks so professional! We have been remodeling for so long its nice to see someone make progress even if it isn’t us! I received my yarn in the mail and loved the royal mail stamp almost as much as the wool! Thank you!
Knitsib in PEI, Canada
Renovation! It can be such a long & challenging process, however I think that the end result is wonderous. Congratulations. I’ve been working on our house for the better part of the decade & have learned the hard way that the best way forward is to send Husband away for a week or two & tackle one room in his absence. Far less shouting & fuss that way.
Houses are rather like marriages I believe – we are working on them forever. Good luck with the rest! 🙂
whilst it might not be your “forever home” who says you cant enjoy it whilst you’re there? what, you have to live in misery until you move? No ta! The weather the UK has been having over the last few years means that there is no place for putting things off then reaping the rewards.
Hate renovations, but when it’s all done you have a beautiful space! Congratulations
Such an elegant transformation. I like the simple contrast between the rich teak floors and the light walls and fixtures. Very serene. I didn’t know about L shaped bathtubs. What a smart idea.
Knitting in Austin, Texas
I’m just back from a week on Amroth beach. I wanted to knit something local whilst I was there but noticed the wiseman’s bridge yarn for the shawl is discontinued – do you have other suggestions?
Can’t wait for the Amroth socks.
x
Hey Sarah! Wiseman’s Bridge can be knit with anything that gives you the gauge, though a bit of silk in the mix will help the drape enormously. Try Fiberspates Srcumptious 4-ply.